
Bathroom Remodeling in Zurich: Planning Your Project
Key takeaways
- A full Swiss bathroom renovation runs roughly CHF 2,000 to 4,500 per square metre, so a 12m2 room lands between about CHF 24,000 and CHF 54,000 (Houzy, 2025).
- A like-for-like refit inside the existing footprint usually needs no building permit in Canton Zurich, but moving walls or pipework often does.
- Waterproofing must follow Swiss norm SIA 271/1, in force since 1 May 2025, which sets how far protection extends beyond the splash zone.
- Decide your priorities and budget first, because fixture and tile choices cascade into every later cost and deadline.
A successful bathroom remodeling Zurich project comes down to three early decisions: a realistic budget, a layout that suits how you actually live, and materials that meet Swiss building standards. Get those right before the first tile comes off the wall, and the rest of the job tends to run smoothly.
This guide walks you through each stage, from setting goals and a budget through fixtures, waterproofing, permits and a realistic timeline. The figures are Swiss and current, and the local rules are specific to Canton Zurich. By the end you will know what to ask a contractor and roughly what to expect on cost and schedule.
Why plan a bathroom remodel carefully?
A bathroom is the most technical room in your home to renovate. Water, drainage, electrics, heating and tiling all meet in a few square metres. A full Swiss renovation costs roughly CHF 2,000 to 4,500 per square metre depending on finish quality (Houzy, 2025). At that price, mistakes are expensive to undo.
Planning protects your money and your nerves. When you decide the layout, the fixtures and the finishes up front, your tradespeople can sequence their work without standing around waiting for a decision. That keeps labour hours down and avoids the dreaded mid-project change order, where moving a drain adds days and a fresh invoice.
There is a quality angle too. A bathroom hides most of its important work behind tiles and plasterboard: waterproofing membranes, pipe runs, and sound insulation. You only see whether that work was done well when something leaks a year later. Careful planning gives you the chance to specify those hidden layers properly instead of discovering shortcuts after the fact.
How do you set goals and a realistic budget?
Start with honest goals, then attach a number to them. For a straightforward refit, Swiss costs sit around CHF 2,000 to 2,500 per square metre, rising to CHF 3,000 to 4,000 per square metre for average quality finishes (UBS, 2025). Zurich jobs usually land at the upper end of these ranges.
Write down what you want this room to do. A tired guest bathroom that needs freshening is a different project from a cramped family bathroom you want to reconfigure. Rank your priorities so you know where to spend and where to hold back.
Here is a simple way to translate goals into a budget:
- Count the square metres. Multiply your floor area by a realistic per-m2 figure for your target quality.
- Add the big-ticket extras. Underfloor heating runs about CHF 250 per square metre, and accessibility changes such as a level-access shower can add CHF 5,000 to 20,000 (Houzy, 2025).
- Factor in labour. Swiss trade rates run roughly CHF 80 to 140 per hour for plumbers and electricians and CHF 80 to 120 for tilers (Houzy, 2025).
- Hold back a contingency. Set aside 10 to 15 percent for surprises, because old pipes and hidden damp love to appear once walls come open.
For a worked example, a 12m2 bathroom comes in around CHF 24,000 for a basic refit, CHF 36,000 for average quality, and CHF 54,000 for a luxury specification (Houzy, 2025). Knowing which band you are aiming for keeps every later choice grounded.
One honest word of advice: the cheapest quote is rarely the cheapest project. A contractor who skips waterproofing detail or uses the thinnest fittings saves you money today and costs you a repair tomorrow. If you want help judging whether a bid is realistic, our guide on how to choose a reliable handyman you can trust covers the questions worth asking.
What do common Zurich bathroom layouts look like?
Zurich housing stock ranges from pre-war Altbau apartments with generous ceilings to compact post-war flats and modern builds with tight, efficient plans. Each presents its own layout challenge. The good news is that most improvements come from rethinking the existing space rather than knocking out walls.
In older Zurich apartments, bathrooms are often long and narrow with fixtures lined up along one wall. The usual frustration is wasted floor space and a cramped shower. Swapping a shallow tub for a walk-in shower, or moving the basin to free up a corner, can transform how the room feels without touching the plumbing stack.
Compact modern flats tend to have the opposite problem: everything is squeezed into a square with no room to spare. Here the wins are vertical. Wall-hung fixtures, a recessed shelf niche, and a mirror cabinet claim storage without stealing floor area. A clear glass shower screen keeps the sightline open so the room reads larger.
A few layout moves deliver the most value for the least structural work:
- Keep the wet wall. Leaving the toilet, basin and shower drainage on their existing wall avoids rerouting pipes, which is where costs climb fast.
- Trade the tub for a shower. Many Zurich households rarely use the bath. A walk-in shower frees space and suits daily life.
- Open the sightlines. Larger-format tiles, a frameless screen and good lighting make a small room feel generous.
- Add storage you will use. A vanity with drawers beats an open pedestal basin for a family that needs to stash bottles and towels.
If damp or black spots in grout lines are part of why you are renovating, deal with the cause as well as the look. Chasing the look while ignoring a moisture source means the same stains return within a year, this time sealed behind fresh tiles where they are far harder to reach. Find and fix the leak or ventilation fault first.
How do you choose fixtures, tiles and waterproofing that last?
Choose for durability first and looks second, because a bathroom sees daily water, heat and wear. Waterproofing now sits under a Swiss norm, SIA 271/1, in force since 1 May 2025, which sets how far protection must extend around wet areas (Suissetec, 2025). This is the single most important layer in the whole room.
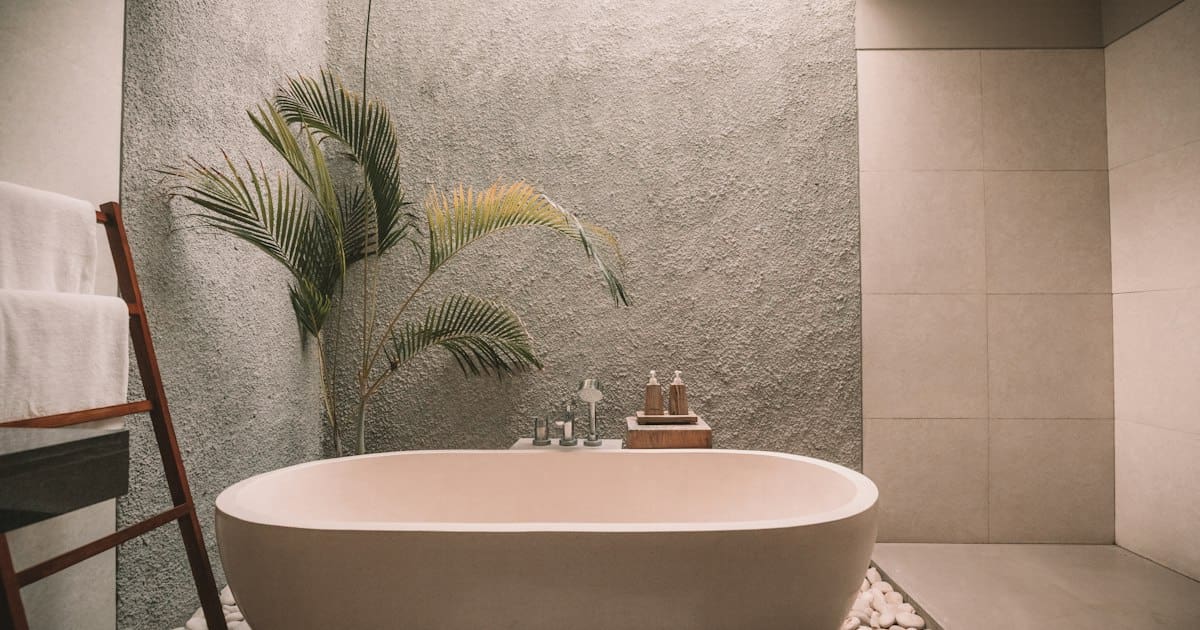
Waterproofing comes first
The membrane behind your tiles does the real work. Under SIA 271/1, wall waterproofing must extend at least 30cm beyond the splash water zone and at least 30cm above the highest point of the shower head. Any fixing that pierces the membrane, such as a shower bracket, must use a tested, water-tight mounting solution. Ask your contractor directly how they will meet this norm. A good one will have a clear answer.
Tiles and grout
For floors, pick a tile rated for wet underfoot use with enough slip resistance. Larger-format tiles mean fewer grout lines, which look cleaner and give water fewer paths to sneak through. Porcelain handles Swiss bathrooms well: it is hard, low-maintenance and holds up to heavy use.
Grout and silicone are the parts that fail first. Flexible joints around the bath, shower tray and corners move slightly over time and eventually crack. Budget to refresh them every few years. When that day comes, our step-by-step on how to reseal a bathroom with fresh silicone walks through doing it properly.
Fixtures
Spend where you touch things daily. A quality mixer tap and a solid shower valve earn their price through years of smooth use, while a mid-range toilet or basin performs fine. Wall-hung toilets and vanities make cleaning easier and suit modern Zurich interiors, though they need a sturdy mounting frame built into the wall.
A quick checklist for lasting choices:
- Porcelain or stoneware tiles rated for wet floors
- A branded shower valve and mixer with available spare parts
- A concealed cistern frame rated for the fixture weight
- Flexible, mould-resistant silicone at every wet joint
- Anti-limescale glass coating on shower screens, given Zurich's hard water
How should you plan heating, lighting and ventilation?
Treat heating, lighting and ventilation as part of the design, not an afterthought bolted on at the end. These three systems decide whether a finished bathroom is pleasant to use in a cold Zurich winter or merely good-looking. Each is far cheaper to get right while walls are open than to retrofit later.
Underfloor heating is the comfort upgrade most Zurich homeowners ask about, and it runs around CHF 250 per square metre (Houzy, 2025). Warm tiles underfoot make a real difference from November through March, and the system doubles as gentle background heat that helps surfaces dry and discourages mould. If the budget is tight, a heated towel rail delivers a slice of the same comfort for far less.
Lighting works best in layers. A single ceiling fixture leaves harsh shadows at the mirror, which is exactly where you need clear, even light for shaving or make-up. Plan three zones:
- Task light at the mirror, ideally at face height on both sides rather than overhead.
- General light from the ceiling to cover the whole room evenly.
- Accent or mood light, such as a dimmable strip, for an evening bath.
All bathroom wiring and fittings must be installed to the correct protection rating for their zone near water, which is a job for a qualified electrician rather than a DIY swap.
Ventilation is the quiet hero of a durable bathroom. In a well-sealed modern Swiss flat, moisture has nowhere to go unless you give it an exit. A properly sized extractor fan, vented to the outside rather than just recirculating, pulls humid air out before it condenses on cold surfaces. Where a window exists, use it, but do not rely on it alone in winter when nobody wants to open up to the cold. Getting this right protects every other choice you made in the room.
What Swiss building standards and permits apply?
Most bathroom refits in Canton Zurich need no building permit, but structural changes often do. Under the cantonal building procedures ordinance, pure maintenance and minor interior conversions of subordinate significance are exempt from permit requirements. A like-for-like refit inside the existing footprint usually falls into this exempt category.
Where you tip into permit territory is when the work touches structure or use. Moving a load-bearing wall, changing the room layout, altering fire safety provisions, or rerouting pipework through structural elements can all trigger a permit. Listed and protected buildings face stricter rules, sometimes down to details like finish colour in a historic Kernzone. If you live in such a building, check before you plan anything visible.
Beyond permits, two Swiss norms shape the quality of the work:
- SIA 271/1 governs interior waterproofing, as described above. It is the standard a careful contractor will build to by default.
- SIA 181 covers sound insulation in buildings. Bathrooms are a common source of structure-borne noise, so decoupling pipes and fittings from the building fabric keeps the running of taps and drains from carrying to the neighbours.
If you are even slightly unsure whether your project needs approval, a short call to your municipal Bauamt settles it. They would far rather answer a question up front than issue a stop-work notice later. A reputable local contractor will also know the Zurich process and can flag permit needs during the quote stage.
How long does a bathroom renovation take?
Plan for roughly two to four weeks of on-site work for a standard Zurich bathroom, plus several weeks of planning and ordering beforehand. The bottleneck is rarely the labour. It is waiting for fixtures, tiles and custom items to arrive, so lead times drive the calendar more than hammer time does.
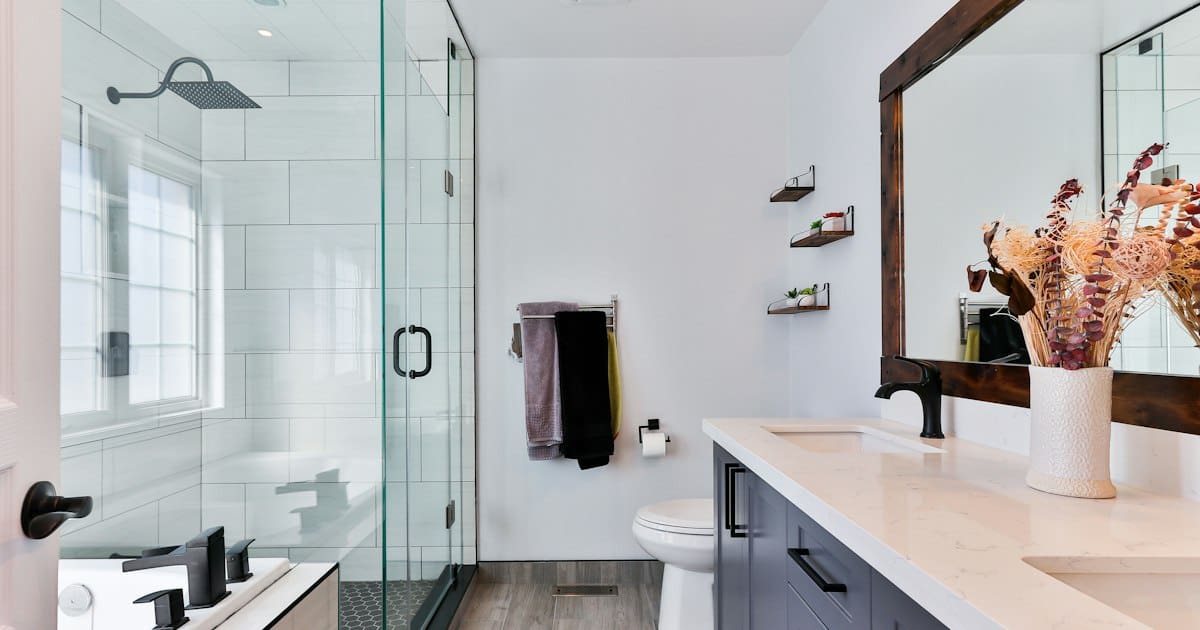
Here is a realistic sequence for a typical refit:
- Planning and design (1 to 3 weeks). Settle the layout, pick fixtures and finishes, agree the quote and confirm whether a permit is needed.
- Ordering and lead times (4 to 8 weeks). Order everything before work starts. A single back-ordered vanity can stall an otherwise finished room.
- Strip-out (1 to 2 days). Old fixtures and tiles come out. Hidden surprises, old pipes or damp, often appear here.
- First fix (2 to 4 days). Plumbing and electrical rough-in, any wall changes, and the shower frame go in.
- Waterproofing and tiling (3 to 6 days). The membrane goes on and must cure, then tiling follows. This stage should never be rushed.
- Second fix and finishing (2 to 4 days). Fixtures, taps, lights, silicone sealing and the final clean.
The one stage you cannot compress is waterproofing cure time. Pushing tilers to start before the membrane is ready undermines the whole room. A good contractor builds that pause into the schedule and will not skip it to hit a date.
Sequencing other trades around the bathroom helps too. Any painting or wall touch-ups in the adjoining hallway are best left until the dust from tiling and strip-out has settled, otherwise fine grit lands in wet paint and spoils the finish.
How do you avoid the most common remodeling mistakes?
The costliest mistakes are decided before any work begins, usually by rushing the plan or chasing the lowest bid. Since hidden layers like waterproofing and pipe routing are invisible once tiled over, a corner cut early stays buried until it leaks. Planning around these risks is cheaper than fixing them.
A handful of errors show up again and again:
- Moving plumbing without need. Relocating a toilet or drain for a small aesthetic gain can add days and a steep bill. Keep the wet wall where you can.
- Underbudgeting the hidden work. Membranes, frames and insulation are not glamorous, but they are where the money should go.
- Skipping the contingency. Old Zurich buildings hide surprises. Without a 10 to 15 percent buffer, one discovery can derail the whole budget.
- Choosing fittings with no spare parts. A beautiful tap from an obscure brand becomes a problem the day a cartridge fails.
- Forgetting access panels. Concealed cisterns and valves need a way in for repairs. Tile over them completely and the next fix means breaking the wall.
Timing with tenants and neighbours is another overlooked risk. In a Zurich apartment building, a bathroom with no backup can make a flat unusable for days, so plan the strip-out around a period when the household can cope. Renovation noise also has limits: Swiss buildings commonly bar loud work at lunchtime, in the evening and on Sundays, and ignoring that invites complaints and strained relations with the neighbours you will still share a stairwell with afterwards.
A final frequent slip is ordering too late. Fixtures and tiles carry real lead times, and starting demolition before everything has arrived leaves a half-stripped room standing idle. Confirm every item is in hand before the first fitting is removed.
When should you call a professional rather than DIY?
Call a professional for anything involving water supply, drainage, electrical work or waterproofing, and keep DIY to cosmetic jobs. In Switzerland, botched wet-room work carries real consequences: a hidden leak can damage the flat below, and insurance may question work that ignored SIA norms. The stakes rise with the water.
There is sensible DIY in a bathroom project. Painting a ceiling, fitting a mirror, swapping a towel rail or refreshing tired silicone are all within reach of a confident homeowner. These jobs save money and let you put a personal stamp on the room.
The line to respect is anything behind the tiles or connected to a pipe or wire. Waterproofing membranes, shower valves, concealed cisterns, new drainage and electrical circuits all demand a trade that knows the Swiss standards and will stand behind the work. A certified tradesperson also gives you a point of accountability if something goes wrong, which a weekend fix cannot.
This is where a local service like Homeexpert2u fits. We handle full bathroom remodels across the Zurich area, from flooring and tiling to carpentry, plastering and lamp installation, and we work to local building standards so the hidden layers are done right. If you want the finish without the risk on the technical parts, that balance of DIY and professional help is worth planning from the start.
Ready to start your bathroom remodeling Zurich project?
The next step is simple: write down your top three priorities for the room and a rough budget band, then get a proper on-site assessment so a professional can tell you what is realistic in your space. A short visit usually surfaces the layout options, permit questions and cost drivers far faster than any amount of online research.
If you are in the Zurich area and want straight answers about your bathroom, get in touch with Homeexpert2u. We will walk the room with you, flag anything that needs a permit or a specialist, and give you an honest sense of cost and timeline before you commit to anything.
Frequently asked questions
How much does a bathroom remodel cost in Zurich?
Expect roughly CHF 2,000 to 4,500 per square metre depending on finish. A 12m2 bathroom ranges from about CHF 24,000 for a basic refit to CHF 54,000 for luxury (Houzy, 2025). Zurich projects tend toward the higher end.
Do I need a permit to renovate my bathroom in Zurich?
A like-for-like refit inside the existing footprint usually needs no building permit under the Canton Zurich building procedures ordinance. Moving load-bearing walls, changing the floor plan or relocating pipework often does, so check with your municipal Bauamt first.
How long does a bathroom renovation take?
Most standard Zurich bathroom remodels take two to four weeks of on-site work once materials have arrived. Planning, design and ordering fixtures beforehand can add four to eight weeks, so allow a couple of months end to end.
What is SIA 271/1 and why does it matter?
SIA 271/1 is the Swiss norm for interior waterproofing, in force since 1 May 2025. It sets how far waterproofing must extend around showers and wet areas. Following it protects your walls and floors from hidden water damage.