
How to Reseal a Bathroom: Fresh Silicone Step by Step
Key takeaways
- Replace bathroom silicone when it cracks, peels, discolours or shows black mould that will not scrub away.
- Remove every trace of old sealant and dry the joint fully before applying fresh silicone, or the new bead will fail early.
- Use a mould-resistant sanitary silicone, mask both sides of the joint, and tool the bead in one smooth pass.
- The US EPA recommends keeping indoor humidity below 60 percent, ideally 30 to 50 percent, to stop mould returning around tubs and showers.
To reseal bathroom silicone, you strip out the old sealant completely, clean and dry the joint, mask both edges, then lay a single smooth bead of mould-resistant silicone and tool it before it skins over. Done carefully, the job takes an afternoon and keeps water out of your walls and floors for years.
That cracked, blackened line of sealant around your bath is not just an eyesore. Once silicone splits or lifts, water creeps behind it into plaster, timber and tile adhesive, and in a Swiss flat that often means a nervous call from the neighbour below. This guide walks through every stage, from spotting a failing seal to preventing the mould that sent you looking in the first place.
When Does Bathroom Silicone Need Replacing?
You should reseal bathroom silicone the moment it stops forming a continuous watertight barrier. The clearest signs are cracks, a bead pulling away from the tile or tub, a spongy or peeling edge, yellow-brown discolouration, and black mould spots that return within days of scrubbing. Any one of these means the seal is no longer doing its job.
Here is what to look for around tubs, shower trays and basins:
- Cracking or splitting along the length of the bead, often where the bath flexes as it fills
- Lifting edges you can lift with a fingernail, leaving a gap water can track into
- Discolouration, from clear going cloudy to white turning yellow or grey
- Persistent black mould that bleach lightens but never fully removes
- A musty smell near the bath even when surfaces look dry
Most sanitary silicone lasts roughly 5 to 10 years, though a rushed or poorly applied bead can fail within a year or two. If yours is more than a decade old and showing two or more of the signs above, resealing is overdue. A failing seal sits alongside dripping taps and loose grout on the list of small faults that quietly cause big damage. For a wider view of these early warning signs, our guide to the 10 most common home repairs and how to spot them is a useful companion read.
Why a Failed Seal Matters More Than It Looks
A failed seal matters because water does its damage out of sight. According to World Health Organization guidelines, dampness and mould are linked to respiratory symptoms, allergies and asthma, which makes a leaking bathroom joint a health issue as much as a cosmetic one (World Health Organization, 2009). The gap you can barely see is often the start of a problem inside the wall.
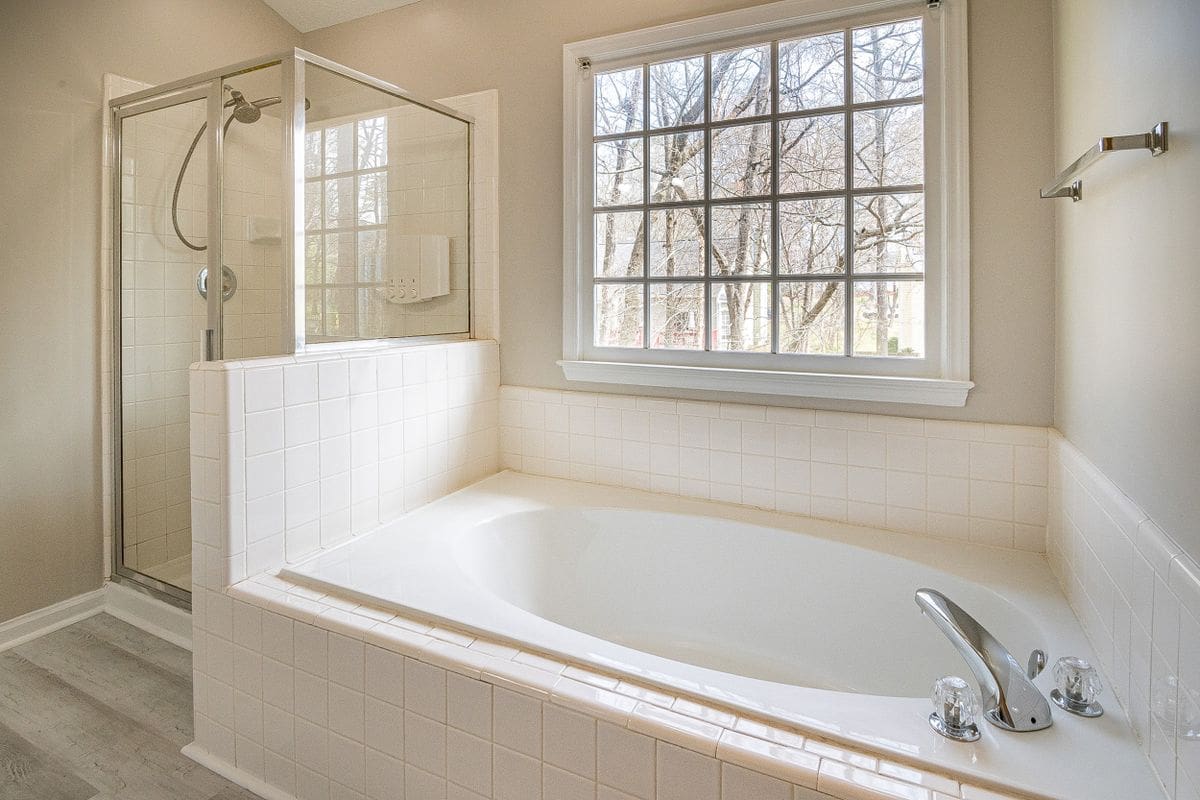
Think about where that water goes. Behind a bath, it soaks into plasterboard and the timber supporting the tub. Under a shower tray, it reaches the subfloor and, in an apartment, the ceiling of the home beneath you. Swiss buildings are built tight and well insulated, which is excellent for warmth but means trapped moisture has nowhere easy to escape. A seal that has been failing for months can leave you facing stained ceilings, swollen skirting and an awkward conversation with a property manager.
The repair itself is cheap. The damage it prevents is not. That alone is reason to treat a tired bead as a job worth doing properly rather than patching over.
What Tools and Materials Do You Need?
You need a small, specific kit to reseal a bathroom well, and most of it costs little. The core items are a silicone remover tool or sharp blade, a caulking gun, a tube of mould-resistant sanitary silicone, isopropyl alcohol or a sealant-safe cleaner, low-tack masking tape, and a smoothing tool or your finger. Good materials make the difference between a bead that lasts a decade and one that peels in a year.
Gather these before you start:
- Sealant remover and a sharp blade or scraper for lifting the old bead
- A fresh cartridge of sanitary silicone labelled mould-resistant or fungicidal, in white or clear to match
- A caulking gun with a smooth release trigger
- Isopropyl alcohol or methylated spirits to degrease the joint
- Low-tack masking tape for crisp edges
- A sealant smoothing tool, plus lint-free cloths and a bin bag
Choose the silicone carefully. For a bath, shower or basin, use a sanitary-grade product with a fungicide, not a general-purpose or acrylic frame sealant, which will not survive constant wetting. A matching colour, usually white or clear, keeps the finished line looking tidy against your tiles.
How Do You Remove Old Silicone Cleanly?
You remove old silicone by cutting it free, not tearing at it. Run a sharp blade along both edges of the bead where it meets the tile and the tub, then lift the loosened strip away in one piece where you can. Clean removal is the single biggest factor in how well the new seal bonds, so take your time here.
Work through it in order:
- Score both edges. Draw a blade along the top and bottom of the bead to release it from the surfaces.
- Peel the strip. Lift one end and pull steadily. Long sections often come away intact.
- Pick out the remnants. Use a plastic scraper or silicone removal tool for stubborn traces in the corner of the joint.
- Treat the leftovers. A silicone softener gel, left on for the time stated on the tube, helps lift smears that will not scrape off.
- Check in good light. Any shiny residue left behind will stop the new bead sticking.
Avoid gouging the tile glaze or scratching an acrylic bath, which marks easily. Keep the blade angle shallow and let the tool do the work. Resist the urge to leave a thin skin of old silicone because it looks clean enough. New silicone bonds to the surface underneath, not to old sealant, so every trace has to go.
Getting the Joint Clean and Dry
A clean, dry joint is non-negotiable, because silicone will not adhere to grease, soap scum or damp. Once the old bead is gone, scrub the channel with a bathroom cleaner, rinse, then wipe it down with isopropyl alcohol to strip away any oily film. The alcohol also flashes off fast, which helps the surface dry.
Drying matters more than most people expect. Trapped moisture in the joint is a common reason a brand-new bead lifts within weeks, and it also gives mould a head start. The US Environmental Protection Agency notes that wet materials should be dried within 24 to 48 hours to avoid mould taking hold, and the same logic applies to a freshly stripped joint (US EPA, 2026).
So before you open the new cartridge:
- Leave the joint to air-dry for several hours, longer in a cold or poorly ventilated room
- Run the extractor fan or open a window to pull moisture out
- For a bath, fill it with water first (more on that below) but dry the joint again before sealing
- Confirm the surface is cool and dry to the touch, not just visually dry
Rushing this stage undoes all the care you put into removal. If the room stays stubbornly damp, give it an extra day.
How Do You Mask the Surface for a Clean Bead?
You mask the surface by running two strips of low-tack tape, one on the tile side and one on the tub side, leaving a consistent gap between them that sets the width of your finished bead. Masking is the trick that turns a wobbly first attempt into a crisp, professional-looking line, and it takes only a few minutes.
Aim for a gap of around 4 to 6 millimetres for a typical bath joint. Keep the two tape lines parallel and press the inner edges down firmly so silicone cannot bleed underneath. Burnish them with a fingernail or the smoothing tool. On a long bath run, work in sections you can tape and smooth before the silicone skins over, rather than masking the entire room at once.
A few points that save frustration:
- Use low-tack tape so it peels away without pulling the new bead with it
- Keep the gap even, since any wobble in the tape shows up in the finished line
- Do not stretch the tape around internal corners, which makes it spring up
- Have the gun loaded and ready before you lay the last strip of tape
With both edges masked, you have effectively drawn the shape of the perfect bead. All that remains is to fill it and smooth it in one confident pass.
Applying a Smooth, Waterproof Bead
You apply the bead by cutting the nozzle at a 45-degree angle, squeezing the gun at a steady pace, and drawing it along the joint in one continuous movement. The goal is a single unbroken line of silicone that fills the gap completely with no air pockets. Consistency of pressure and speed matters more than brute force.
Set yourself up for success:
- Cut the nozzle to match your joint width. A smaller hole gives more control; you can always trim wider.
- Pierce the inner seal of the cartridge with the wire on the gun or a long nail.
- Load and prime the gun until silicone just appears at the tip.
- Lay the bead in one pass, keeping the nozzle moving and the tip buried slightly into the joint so it fills from the bottom up.
- Do not stop mid-run if you can help it, because restarts leave lumps.
Once the bead is down, tool it immediately while it is still workable. Wet a gloved finger or a smoothing tool with a little soapy water, then draw it along the bead in a single smooth stroke to press the silicone into the joint and leave a slightly concave surface that sheds water. Wipe excess onto a cloth as you go.
Then comes the satisfying part. Peel both strips of masking tape away at a shallow angle while the silicone is still wet, pulling along the line of the bead rather than straight up. You are left with two clean edges and a tidy, waterproof seal. Leave it well alone to cure, at least 24 hours and up to 48 for some products, before the bath or shower gets wet.
Sealing a Bath: The Water-Weight Trick
Sealing a bath deserves its own step because an empty bath moves. When you climb in and fill a bath, its weight pulls the tub down by a few millimetres, and if you sealed it empty, that movement tears the fresh bead. The fix professionals use is simple: fill the bath with water before you seal it.
Water weighs about a kilogram per litre, so a full bath drops to its lowest working position. Seal the joint at that point, let it cure fully, then drain the bath. The seal now sits at the widest the gap will ever be, so normal use compresses it slightly rather than stretching it apart. This one habit prevents the most common bath-sealing failure.
Keep in mind:
- Fill to the normal level you would bathe at, not to the brim
- Dry the joint again after filling, as condensation forms on a cold tub
- Leave the water in for the full cure time stated on the tube, then drain slowly
- Expect a small settle when you drain, which is exactly why you did it
It feels odd to fill a bath you are about to seal, but skipping this step is why so many DIY bath seals split within months.
How Do You Prevent Mould Around Tubs and Showers?
You prevent mould by controlling moisture, because mould needs damp to grow and a fresh seal only buys time if the room stays wet. The US EPA recommends keeping indoor relative humidity below 60 percent, and ideally between 30 and 50 percent, which is the single most effective way to stop mould returning around tubs and showers (US EPA, 2026). Fresh silicone keeps water out of the structure; ventilation keeps mould off the surface.
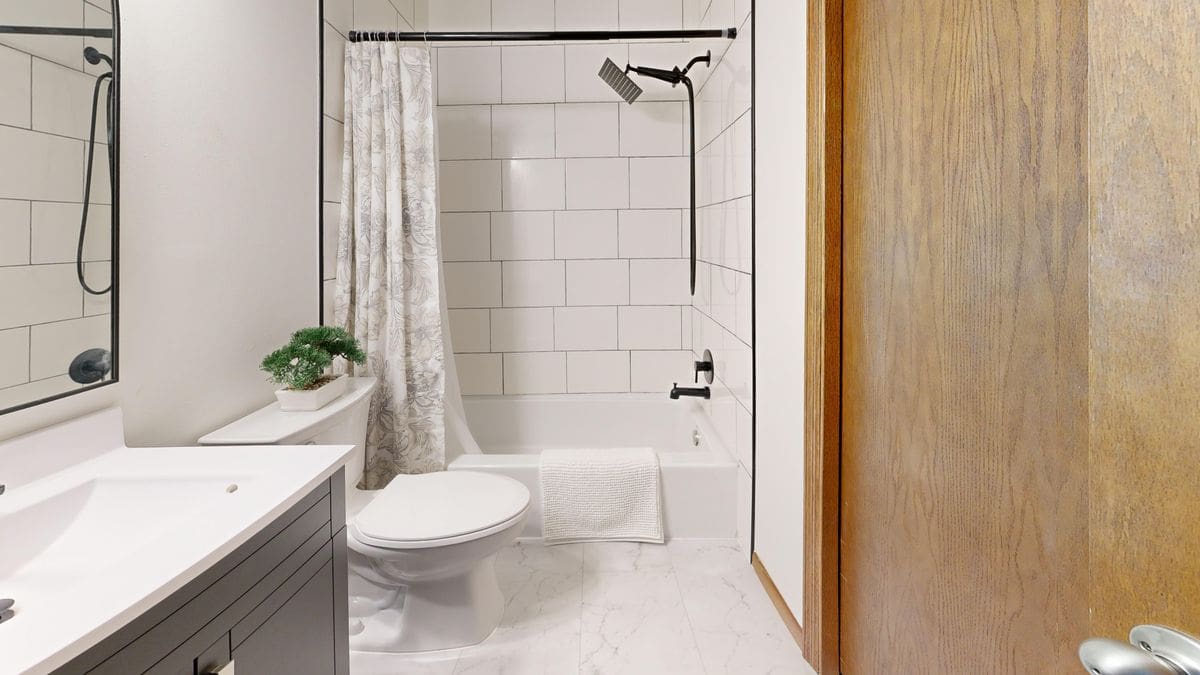
Build these habits into daily use:
- Ventilate every shower. Run the extractor fan or crack a window, and keep it going for 15 to 20 minutes afterwards.
- Wipe down wet surfaces. A quick pass with a squeegee or cloth on the tiles and bath edge removes the film mould feeds on.
- Keep the door open after bathing so damp air disperses rather than settling in the corners.
- Deal with condensation on cold outside walls, common in older Zurich flats, by heating the room gently rather than letting it sit damp.
- Choose fungicidal silicone, which resists colonisation but is not a substitute for drying the room out.
Swiss winters make this harder. Windows stay shut against the cold, and a steamy bathroom with no airflow is a greenhouse for mould. If your bathroom has no mechanical extraction, this is worth raising with a landlord or a tradesperson, because the humidity problem will keep attacking any seal you lay.
When Should You DIY and When Should You Call a Pro?
You should tackle a straightforward reseal yourself and call a professional when there is hidden damage, an awkward layout, or signs the leak has already spread. Resealing a single clean bath joint is well within reach for most homeowners with an afternoon to spare. The judgement call is about what you find once the old bead is out.
Reach for the phone when:
- The substrate is soft or stained, suggesting water has already got into plaster or timber
- Tiles are loose or grout is crumbling, since the problem is bigger than the seal
- The joint is very wide or uneven, which needs backing rod or a tiled repair first
- You are a tenant or landlord wanting documented, warrantable work on a rented unit
- There is mould inside the wall, which is a health matter, not a cosmetic one
For a fuller framework on where the line sits, our guide on when to DIY and when to hire a handyman in Zurich walks through the trade-offs. And if you would rather the whole job, from stripping to a guaranteed finish, be handled for you, that is precisely the kind of work the team at Home Expert 2 U takes on. You can see the full range in our overview of what a professional handyman in Zurich can fix.
A Realistic Timeline for the Whole Job
A realistic reseal runs across two days, not because the work is long but because silicone needs time to cure. The hands-on part, stripping, cleaning, masking, applying and tooling, takes most people two to four hours for a single bath or shower. The waiting is what stretches it out.
Here is how a typical weekend job breaks down:
- Morning: strip the old bead, scrub and degrease the joint, open the window to dry it
- Afternoon: mask the edges, fill the bath, apply and tool the fresh bead, remove the tape
- Rest of day one and overnight: leave it strictly alone to cure
- Day two: check the cure, drain the bath, and only then return the room to normal use
Do not be tempted to shower the evening you seal, even if the surface feels dry. A bead that looks set on top can still be soft underneath, and one early soaking can ruin hours of careful work. Patience at this final stage is what separates a seal that lasts a decade from one you redo next spring.
Closing the Joint, Keeping It Sealed
If your bathroom seal is cracked, blackened or lifting, put resealing on this weekend's list before the next shower pushes more water behind the tile. Gather a sanitary silicone, strip the joint right back, dry it properly, mask it, and lay one clean bead. Then protect your work by keeping the room ventilated and the humidity down.
If you open up the joint and find soft plaster, spreading mould, or a layout you would rather not wrestle with, that is a sensible moment to bring in a professional. Home Expert 2 U handles bathroom resealing and the repairs that sometimes hide behind a failed seal across the Zurich area. Get in touch and we will get your bathroom watertight again, the first time.
Frequently asked questions
How often should bathroom silicone be replaced?
Most bathroom silicone lasts around 5 to 10 years, but a poorly applied bead can fail in one or two. Replace it as soon as it cracks, lifts or grows mould you cannot clean off.
Can I apply new silicone over old silicone?
No. Fresh silicone will not bond properly to old sealant, so the new bead peels away quickly. Always strip the joint back to bare, clean, dry surfaces first.
How long before I can use the shower after resealing?
Most sanitary silicones are touch-dry within an hour but need a full cure before getting wet. Wait at least 24 hours, and check the tube, as some products need 48 hours.
Why does black mould keep coming back on my sealant?
Mould returns when the room stays damp. Ventilate during and after showering, wipe down wet surfaces, and keep humidity below 60 percent so spores cannot colonise the joint.